How to start a home food business in India
By Tummy & Mummy Producer Team · Published
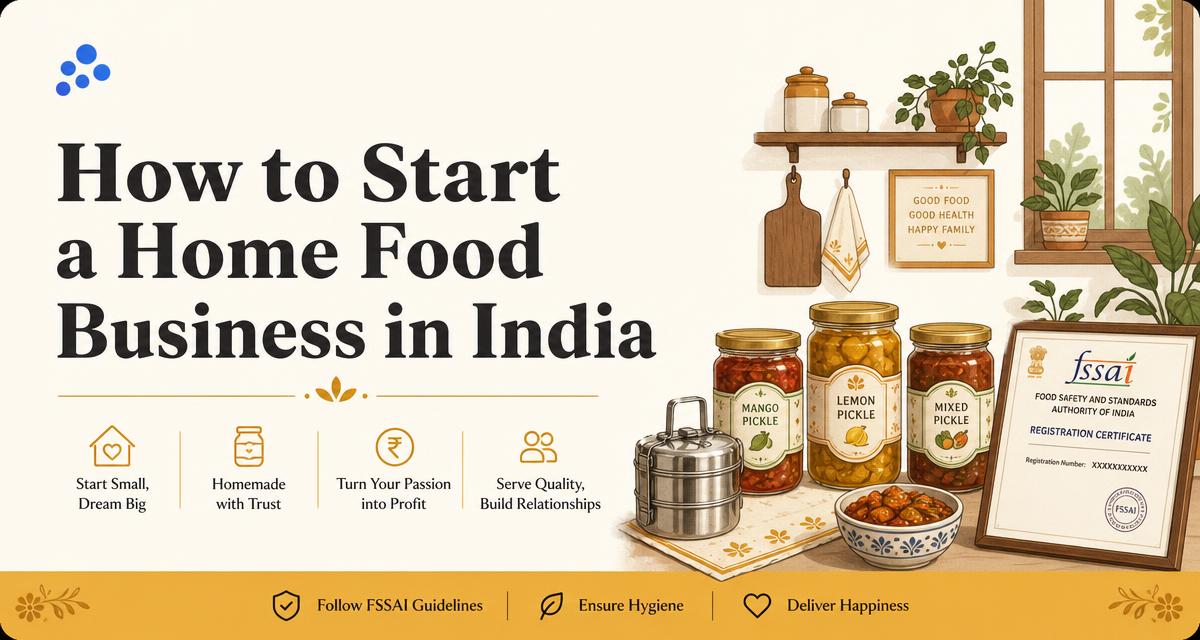
If you already cook pickles, masalas, snacks, sweets or ready-to-eat meals that people ask to buy, you are close to a real business. What usually stops home chefs is not the cooking — it is the licence, the packaging and knowing what to charge. This guide walks through each step in the order you should actually do it.
1. Decide what you will sell
Start narrow. One or two products you can make consistently, that travel well and keep for weeks, are far easier to sell than a long menu. Shelf-stable categories — pickles, podis and chutney powders, masalas, laddoos and dry snacks — are the friendliest first products because you can batch them, courier them and quote a stable price.
Fresh cooked food and dairy-based sweets sell well locally but need same-day delivery, cold chain and tighter hygiene control. Many home chefs begin with shelf-stable items and add fresh items once local demand is proven.
2. Get your FSSAI registration
Any food business in India needs an FSSAI licence, including one run from your home kitchen. For small home operations the entry-level option is the FSSAI Basic Registration, applied for on the government FoSCoS portal. It is meant for small-turnover businesses; as you grow you move up to a State Licence.
Keep these ready before you apply:
- Photo ID and address proof of the owner (Aadhaar / PAN)
- A passport-size photograph
- Proof of the premises — an electricity bill or rent agreement for your home
- A list of the food products you intend to make
Check the current fee, turnover limits and document list on the official portal before applying, since they are revised from time to time: foscos.fssai.gov.in. Once issued, your FSSAI number must be printed on every label.
3. Set up a compliant home kitchen
You do not need a commercial kitchen to start, but you do need a kitchen you would be comfortable showing a customer. Practical basics: a dedicated work surface for production, separate storage for raw and finished goods, potable water, pest-proof containers, clean aprons and hair covering, and a simple record of what you cooked on which date.
Batch records matter more than most beginners expect. Writing down batch date, quantity and cost per batch is what later lets you spot that your profit dropped because oil prices moved — not because sales fell.
4. Packaging and labelling
Packaging does two jobs: it protects the food and it earns trust. For pickles and wet items use food-grade PET or glass jars with a tamper-evident seal; for dry snacks and powders use laminated pouches you can heat-seal. Buy in the smallest wholesale lot you can — packaging is usually the cost home chefs underestimate most.
Your label should carry:
- Product name and whether it is vegetarian or non-vegetarian (the green or brown mark)
- Full ingredient list in descending order of quantity, plus allergen information
- Net weight, date of manufacture and best-before date
- Your FSSAI licence number and the name and address of the maker
- Storage instructions and MRP
5. Cost your recipe properly
This is where most home food businesses quietly lose money. A price is only safe once you know your true cost per kg, and that is more than ingredients. A complete cost sheet includes:
- Ingredients at today's wholesale rate, not last year's
- Your own labour — the hours you spend cooking, at a rate you would pay someone else
- Kitchen overheads: LPG, electricity, water, consumables and equipment wear
- Sourcing effort — the time and transport spent buying raw material
- Wastage, spoilage and rejected batches as a percentage of the batch
- Packaging, labels and, if you ship, courier cost
Add all of it, divide by the finished weight of the batch, and you have your cost per kg. Recheck it whenever ingredient rates move.
Do the maths in two minutes
The Know Your Worth calculator walks you through ingredients, labour, overheads and wastage and tells you what your product is really worth per kg.
Calculate your cost per kg6. Price for profit, not for approval
Once you know your cost per kg, add the margin your business needs to survive — for a cook-at-home operation that is typically a meaningful markup, not a few rupees. If you sell through a marketplace or reseller, remember their commission, delivery and any platform fee sit on top of your price, so quote your landed price rather than your bare cost.
Do not price by copying the cheapest jar on a listing page. Factory-made products have costs you do not have, and you have quality they cannot match. If your honest price is higher, sell the reason — smaller batches, real ingredients, no preservatives.
7. Find your first customers
Start with the people who already trust you: your building, your WhatsApp groups, your extended family. Take one clear photo of the packed product, state the weight, price and shelf life, and ask for repeat orders rather than one-off favours. Ten repeat customers are a better foundation than a hundred curious ones.
After that, a marketplace gives you reach without you having to build a storefront, run ads or handle delivery. Tummy & Mummy exists for exactly this — home chefs who can cook well and want customers without becoming marketers.
Want to sell on Tummy & Mummy?
Work out your worth first, then list your product as a producer.
Become a producerThis guide is general information for home food entrepreneurs in India. Licence categories, fees and labelling rules are set by FSSAI and change over time — always confirm the current requirements on the official FoSCoS portal before you apply.